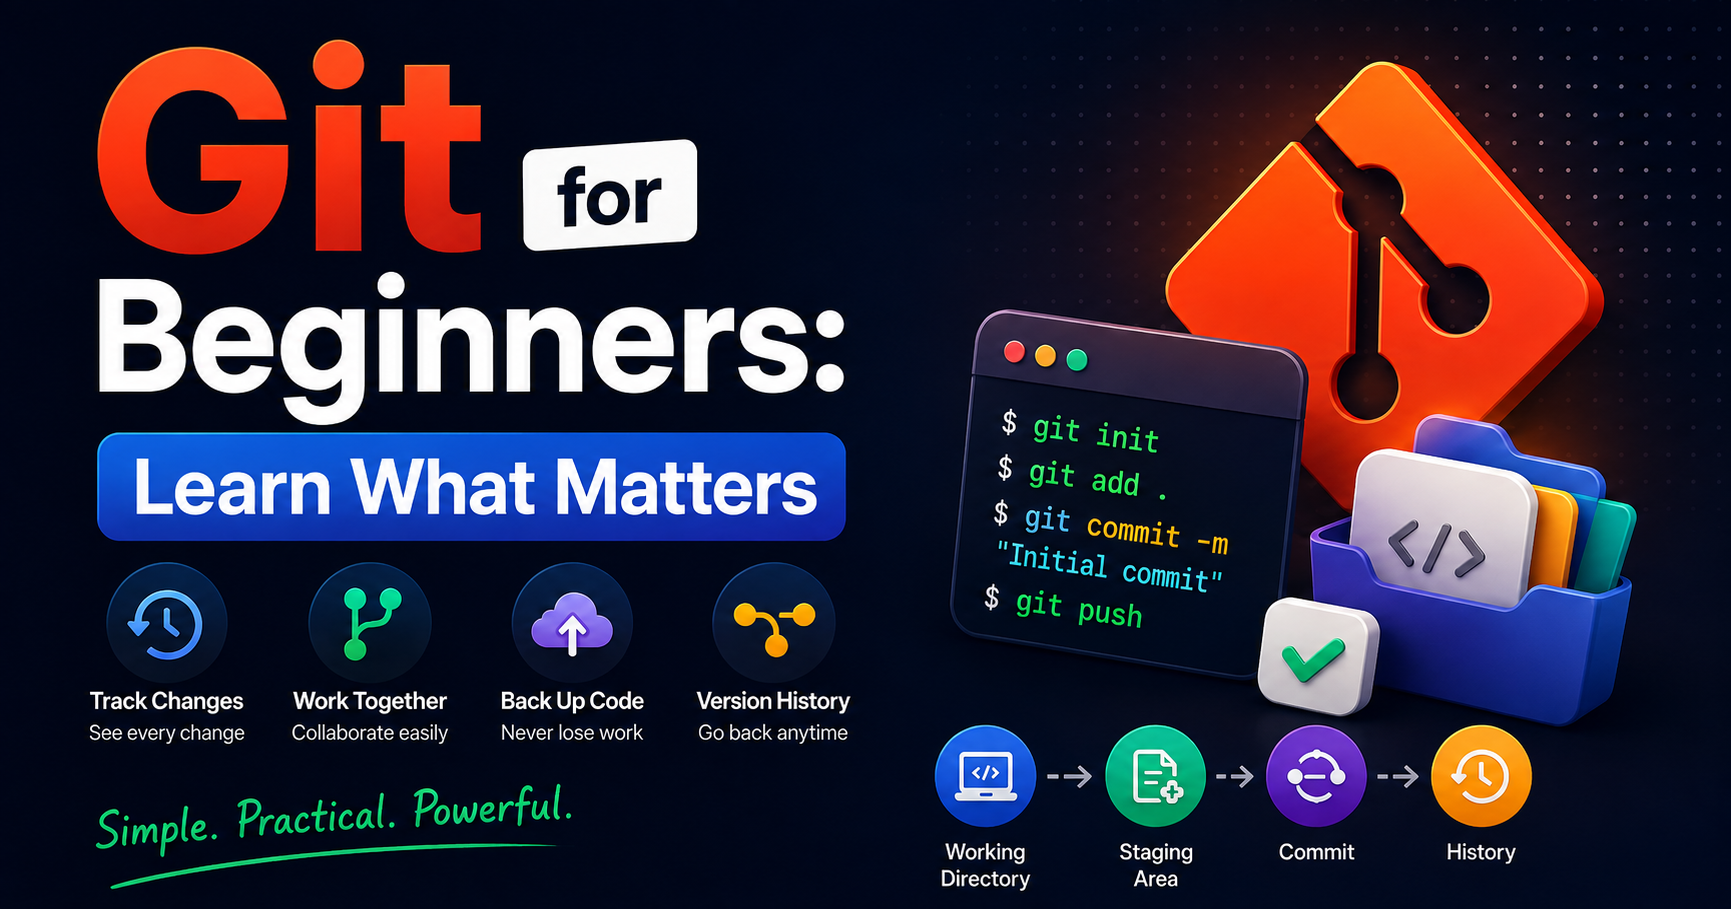
Git for Beginners: Learn What Matters
If you’ve ever written code and thought,
"What if I break something… or lose everything?" — you’re not alone.
That’s exactly the problem Git solves.
In this guide, I’ll explain Git in the simplest way possible—no confusing jargon, just real understanding.
What is Git? (In Simple Words)
Git is a code tracker.
It tracks your code line by line, so you always know:
what changed
when it changed
who changed it
Think of it like a time machine for your code.
Example (How Git Tracks Changes)
Let’s say you wrote this:
const name = "Maaz"
Then later, you changed it:
const name = "Maaz"
const name = "Maazzz"
Git doesn’t just store the new version. It stores the difference (called a “diff”).
You can see this difference using command:
git diff
So you can:
Go back to the old version
Compare changes
Understand what was modified
How Git Works (Simple Idea)
Git uses a technique called version control:
It takes snapshots of your project
Each snapshot is a version
You can move between versions anytime
Imagine saving your file like:
project_v1
project_v2
project_final
project_final_final
Git automates this properly.
Why Git is Used (Problem → Solution)
Before Git (Big Problem)
Developers used to:
Save files manually
Share code via USB or email
Overwrite each other’s work
Result:
Lost code
Conflicts
Confusion
Pendrive Solution (Old Approach)
People tried copying projects using a pendrive.
Problems:
Only one person can work at a time
No history tracking
Easy to lose data
No collaboration
The Real Solution (Git + Servers)
Now imagine the same pendrive, but on the internet.
That’s Git with platforms like GitHub, GitLab, and Bitbucket.
Benefits:
Multiple people can work together
Everything is tracked
No data loss
One single source of truth
This is what Git solves.
Git Basics and Core Terminologies
Before commands, understand these:
Repository (Repo): Your project folder tracked by Git
Commit: A saved version (snapshot) of your code
Branch: A separate version of your project used to test features
Merge: Combining changes from one branch to another
Staging Area: A place where changes are prepared before committing
Simple flow:
Working → Staging → Commit → History
How to Set Up Git in Your Project
1. Install Git
Download from https://git-scm.com
2. Configure Git (First Time Only)
git config --global user.name "Your Name"
git config --global user.email "your@email.com"
Sets your identity for commits.
3. Initialize Git in Your Project
git init
Starts tracking your project
4. Add Files
git add .
Moves your changes to the staging area.
5. Commit Changes
git commit -m "Initial commit"
Saves a snapshot of your project.
6. Connect to Remote Repository
git remote add origin
git push -u origin main
Uploads your project online.
Top 10 Most Used Git Commands
1. Initialize
Git git init
Starts a new Git repository
2. Check Status
git status
Shows current changes and file states
3. Add Files
git add .
Stages all changes for commit
4. Commit Changes
git commit -m "message"
Saves changes with a message
5. View History
git log
Displays commit history
6. Create Branch
git branch feature-name
Creates a new branch
7. Switch Branch
git checkout feature-name
Moves to another branch
8. Merge Branch
git merge feature-name
Combines another branch into current branch
9. Push Code
git push
Uploads commits to remote repository
10. Pull Latest Code
git pull
Fetches and updates local code with remote changes
Final Thoughts
Git might feel confusing at first, but it is simple.
It:
Tracks changes
Saves versions
Helps teams collaborate
Remember:
you don’t need to learn everything at once start with basic commands practice regularly.